All stringed instruments need to be tuned on a regular basis. Pianos, guitars, harps, and especially violins all can get out of tune. Because the strings are so fine and subject to stretch during use, most experts recommend tuning a violin each time you take it out of the case to play it. IF you are playing it for long periods of time, you may need to re-tune it.
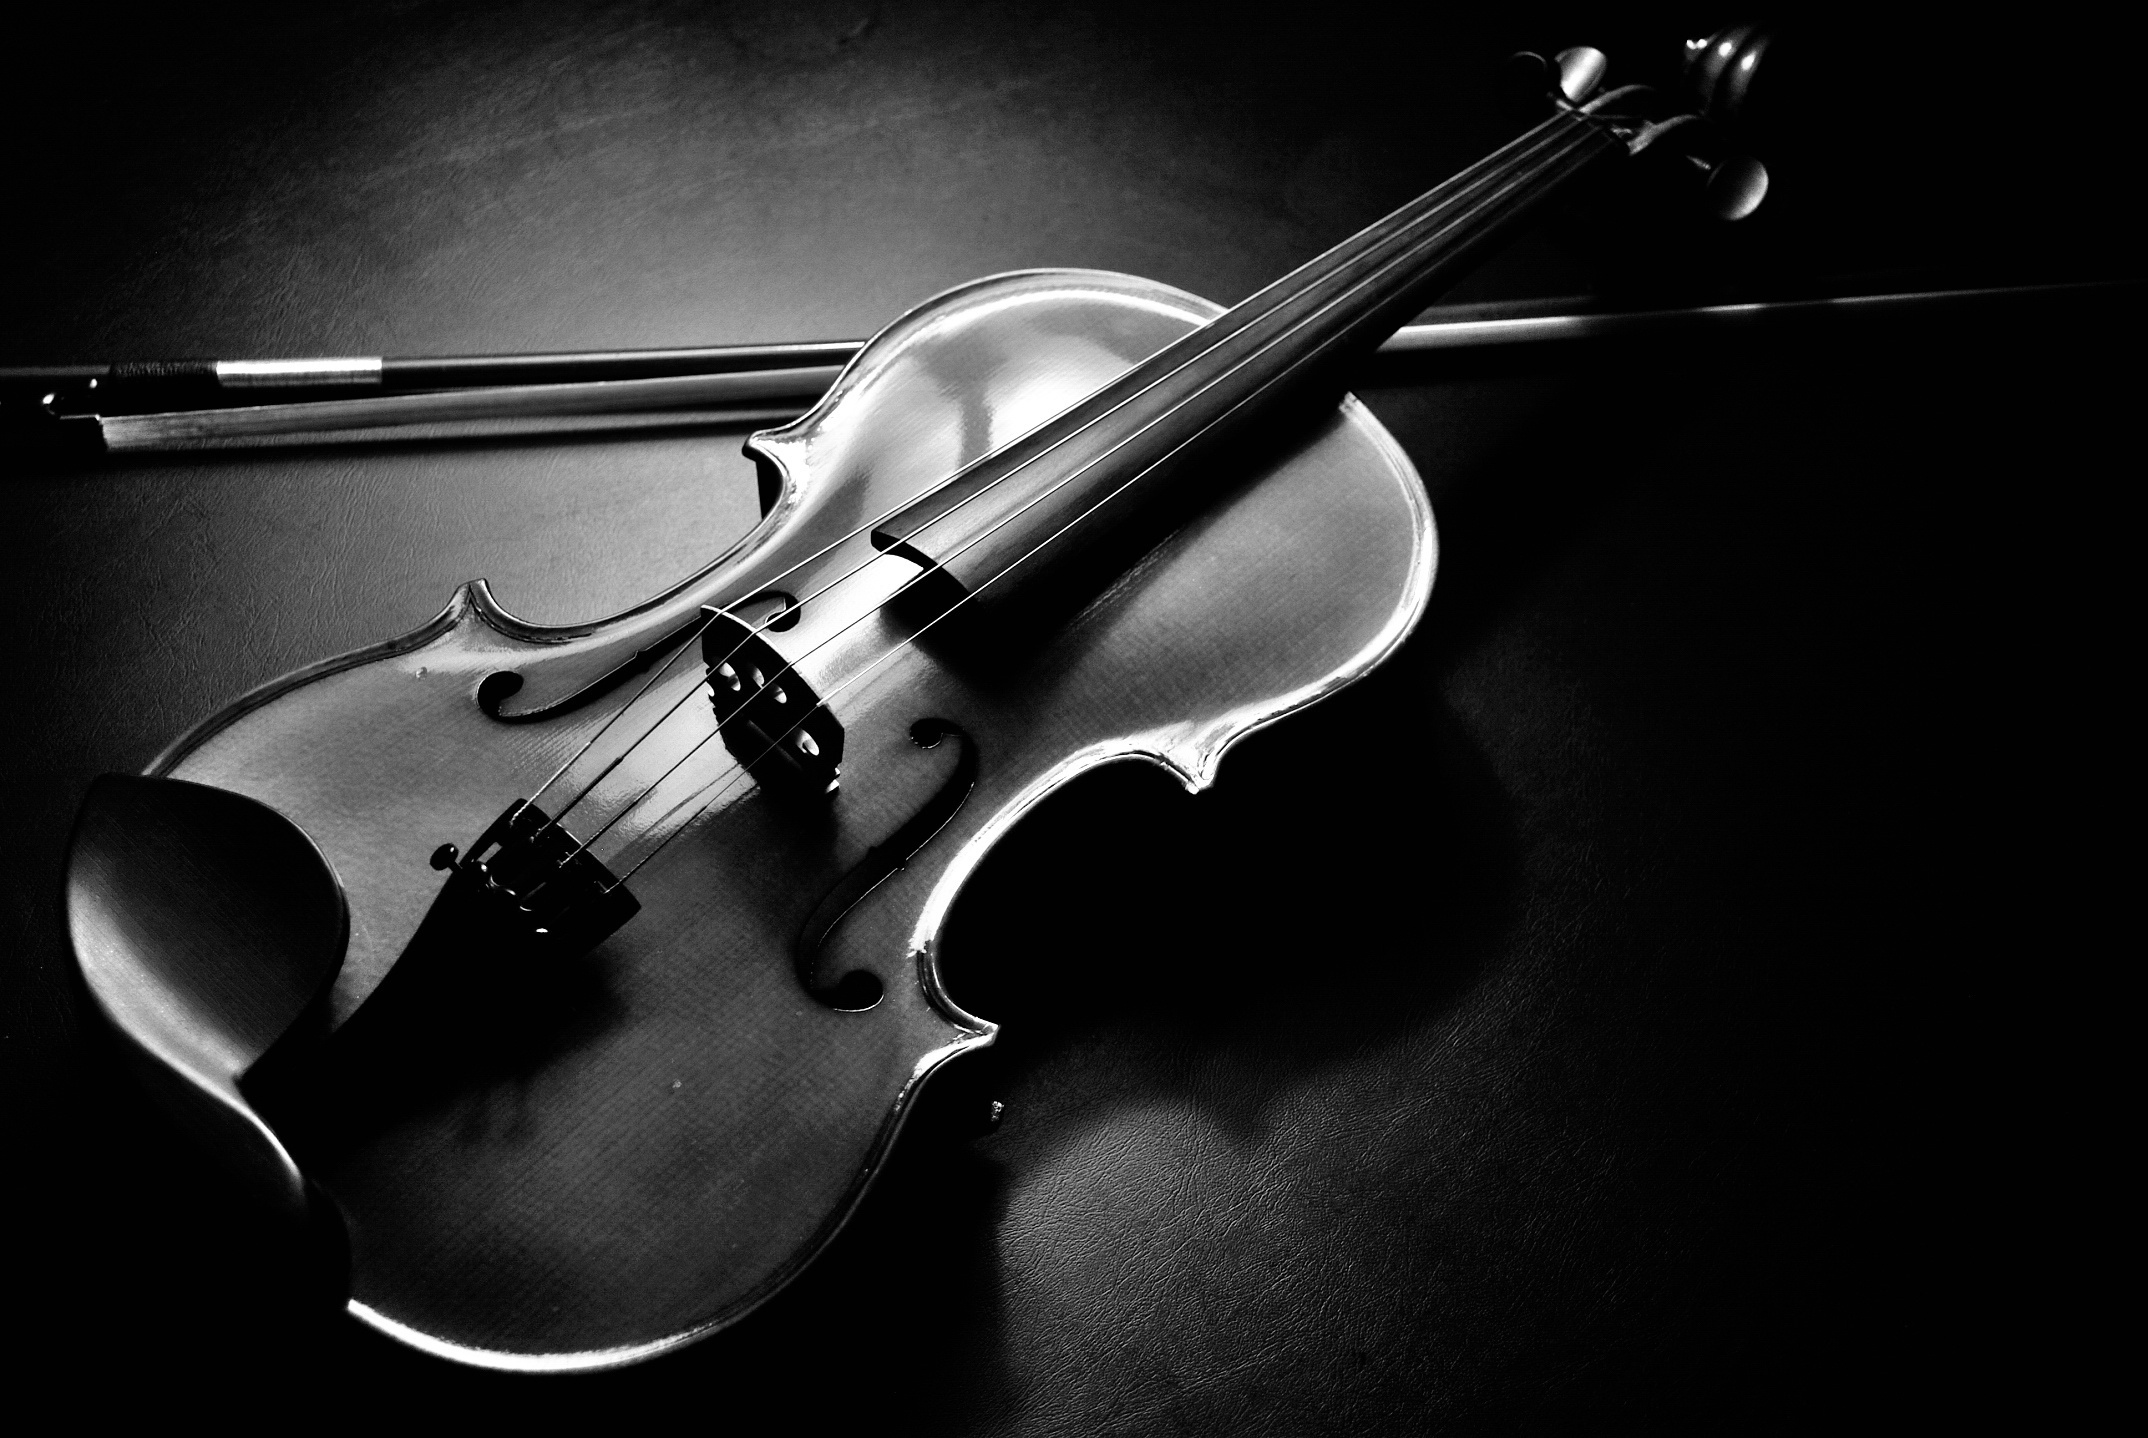
The violin has four strings known as the “G” string, “D” string, “A” string and “E” string. A good way to remember their order is the saying – “Good Dogs Always Eat”. Or you can make up an acronym of your own. Each string must be tuned to what is termed a “perfect fifth” pitch. When tuning a violin there are three things you must have – a good ear, a steady hand and patience. But most importantly you need something that sounds the perfect fifth in order to get your violin strings to mimic that sound.
There are many different types of tuners — electronic, chromatic (which tunes with other instruments), tuning forks, a pitch pipe, even online and smart phone apps. Beginners should seek the help of their instructor in choosing the correct tuner to use. None are very expensive.
Tuning a violin is accomplished with two tools called pegs (i.e., string adjusters) and fine tuners. Each has a specific purpose in helping your eastman violin strings getting in tune. Most of the time, the pegs are used first if that particular string is more than a half-note out of sync with the note produced by the tuner. The fine tuner is called that because it simply fine tunes the string’s sound which is less than half a note out of sync by tweaking it ever so slightly until the perfect matched sound is achieved.
Violin strings are not all equal. Each one, if you look closely, is a bit thicker or thinner than the ones next to it. The G string is the most durable of the four, where as E string is the most delicate. You should begin with the most durable, i.e., the G string first.
Always tighten the four strings in sync with each other. If you tighten only one string at a time, it will place a skewed amount of pressure on the bridge, which is the little wooden comb at the base of the head which separates the strings. The proper way is to use a peg to tighten each string until it is within a note of the tuner, then do the same again for each string until it is within a half-note of the tuner’s perfect fifth sound. From there you can carefully fine tune the strings with, you guessed it, the fine tuner.
Keep in mind that the violin’s bridge is not secured. The violin’s bridge is purposely designed to shift with the tension of the strings. That helps them produce a better tone. The most important thing is keeping the bridge at a perpendicular angle to the head of the violin the whole time you are tuning a violin. If the pressure applied while tuning causes the bridge to slip, very gently push it back into an upright position.
At close examination, the pegs are not uniform. They are slightly tapered at one end. This is so the peg can put the right amount of pressure on the strong you are tuning without slipping. Once again, only use the pegs until you believe you are within a half-note of the correct pitch, then switch to the fine tuner.
Use caution with applying the fine tuner. The main purpose for the peg is id you applied that much pressure with a fine tuner it would leave and indentation in the violin head. What if you can’t tighten string with the fine tuner any further but still feel your string is not in perfect pitch? Simply loosen the fine tuner and again try the peg.
When it comes to tuning a violin, patience really is a virtue. Even if you think the strings are just a hair out of tune, get in the habit of using the pegs first before the fine tuners, all the while ensuring the bridge remains at a 90 degree angle. It takes time and practice, but eventually tuning a violin will seem almost an automatic action.